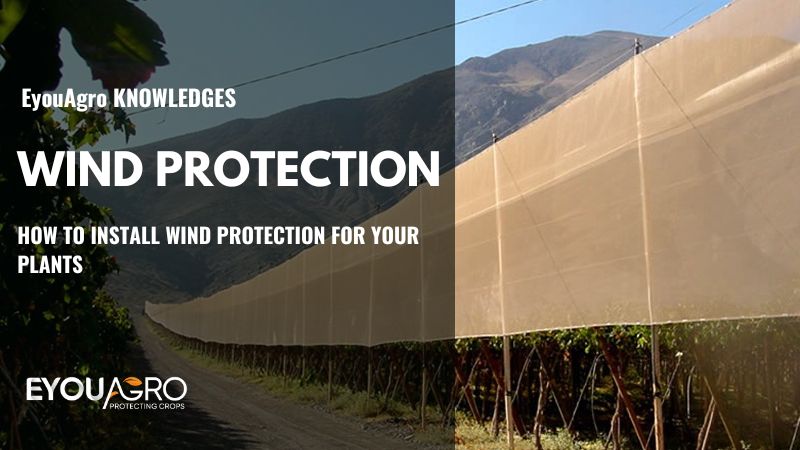
As a gardener, you must protect young plants, delicate plants, and plants growing in an open area against wind damage.
The damage that howling winds can do to your plants with no warning is tremendous. In some instances, you’ll have to grow your plants afresh.
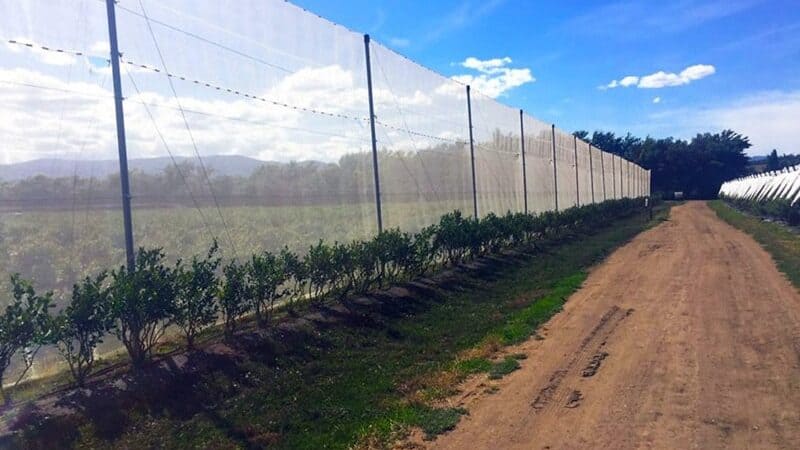
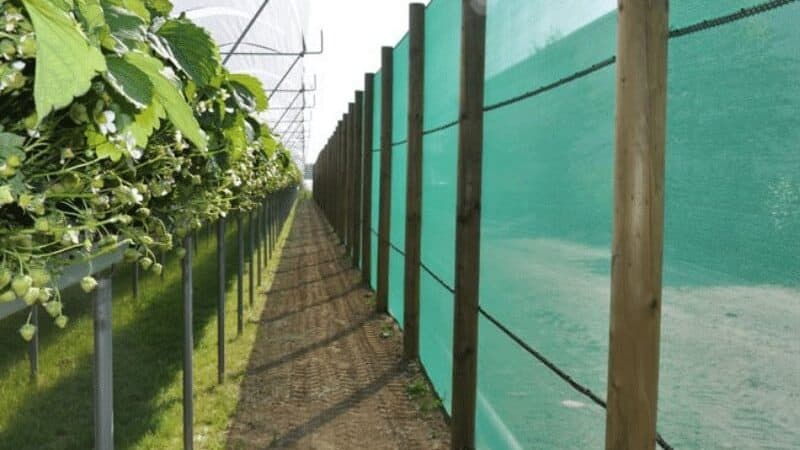
To eliminate and reduce the wind’s destructive impact on your plants, you will need to install a wind protection netting, which will reduce the velocity of the wind and change the course of the wind.
Here is our detailed guide on how to install wind protection for your plants/garden.
Where to Buy
One among the crucial decisions one has to make before purchasing anything and not just wind protection netting only is the place of purchase.
As a buyer, you’ll need to purchase from a manufacturer or supplier who understands your needs and requirements. Right?
Therefore, make sure you do exactly that. Find a seller who satisfies all your needs without fail.
To do this, make the internet your best buddy, surf the internet for manufacturers’ contacts, location, and customer reviews.
Tools and Materials You’ll Need for Installation
For all equipment that requires installation before a performance, proper installation is vital. Wind protection netting is no exception.
Some tools and accessories that will come in handy when installing wind protection netting include:
- Fasteners
- Hooks

Fasteners
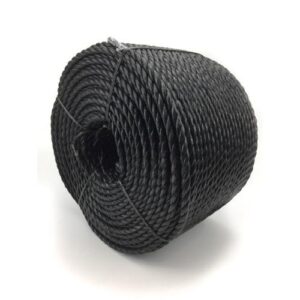
A fastener is anything that you can use to secure something into place. Similarly, a fastener may include nails, fence staples, or cable ties for wind protection netting.
However, cable ties do a better job since you can depend on them to hold the netting secure when strong winds strike.
An up to standard cable tie should have UV inhibitors and be able to withstand harsh outdoor conditions.
Put in mind that fasteners play a considerable role when it comes to installing wind protection netting. Thereby, make wise decisions regarding your choice of fasteners.
Hooks
A safety hook has a variety of applications. In this case, you’ll use a safety hook to hang and spread out the netting as you prepare to attach it.
Safety hooks come in different sizes depending on the size of your wind protection netting.
Installation Methods
There are two installation techniques you can employ while installing your wind block netting.
First, we have the technique of completely attaching the top side first before attaching the bottom side one side at a time until the installation process is over.
Secondly, there’s the top/bottom technique; with this method, you will attach a few grommets at the top, say 10, then proceed to attach a small part at the bottom before you can move to the top again. You will continue in the same manner until the attachment process is over.
The Installation Process ( Step by Step)
I will describe Installing the protective netting from right to left, using the method of installing the top side first before you move to the bottom side. Reverse the directions if you intend to install your netting from left to right.
To ease installation, spread out the netting fabric along the fence’s length and hang it using a few S hooks. This action will lessen the weight and make the insertion of cable ties simple.
Step 1: Start in the upper right and use a cable tie to attach the netting’s top corner grommet to the fence. Do this continually for about ten grommets before you can check your progress. With each attachment, make sure to pull the netting taut to secure it.
Additionally, for this step, do not skip any grommet. Make sure you attach to each grommet. Attaching only a few grommets will cause them to strain whenever the wind howls—eventually causing the cable ties to break.
This will mean that the netting will no longer perform its intended job properly. Worse still, this action may damage your wind block netting, forcing you to purchase another one.
Step 2: Keep on attaching along the top until the end( left side) while pulling taut to prevent wrinkling and folding.
Step 3: Go back where you started the installation process, in our case, the right side, and attach a vertical edge to the fence from top to bottom. Do not forget to pull the netting taut each time you secure it with a cable tie.
Step 4: Continue attaching along the bottom until the end while pulling taut to ensure the net is wrinkle and fold free.
Step 5: Continue with the attachment process until you have covered all the sides of your garden to satisfaction.
If this technique fails, feel free to use the top-bottom method.
Installation Tips
The process of installing any equipment and not just the wind protection netting can be nerve-wracking, especially when you choose not to involve a professional.
Fortunately, here are a few tips that will come in handy while installing wind protection netting.
- Always attach the cable ties to the fence towards the direction you are pulling the netting to. This action will help pull the net taut and keep it that way as you tighten the cable ties.
- Avoid over-tightening cable ties. If you feel they are not adequately secure, carry out tightening after the installation process is over.
- Cable ties are bound to break at some point. It is wise to have extra cable ties to replace the ones that will wear out. This action will significantly increase your netting’s durability and time of use.
- Construct your poles/fences close to each other to ensure your wind block net is strong enough. Additionally, constructing poles/ fences at a close range will ensure the netting does not droop between posts over time.
- You can use a galvanized wire to secure your netting further if it has eyelets on the edges. To do this, fix the wire to the posts/fences and then thread it through the net’s eyelets.
- Leave a gap at the bottom of your wind protection netting to allow some wind to escape, thus reducing pressure on the posts.
- Do not carry out the installation process on a windy day. This action will add more workload to your already hefty workload.
- It is better to have at least two people carry out the installation process.
- After use, when the damaging winds are gone or after harvest, put away your netting in a roll. Do not fold it. Rolling it will prevent creases, and hence, your net will serve you longer. Also, store it indoors in a clean, dry place.
Conclusion
As a gardener, you can’t escape the responsibility of providing wind protection for your plants. The unrivaled way to go about it is to install a secure wind block netting structure.
Eyouagro is a professional manufacturer and supplier of shade cloth. Don’t hesitate to visit us at www.EyouAgro.com or contact us at info@eyouagro.com and select your best wind block netting.