

Introduction
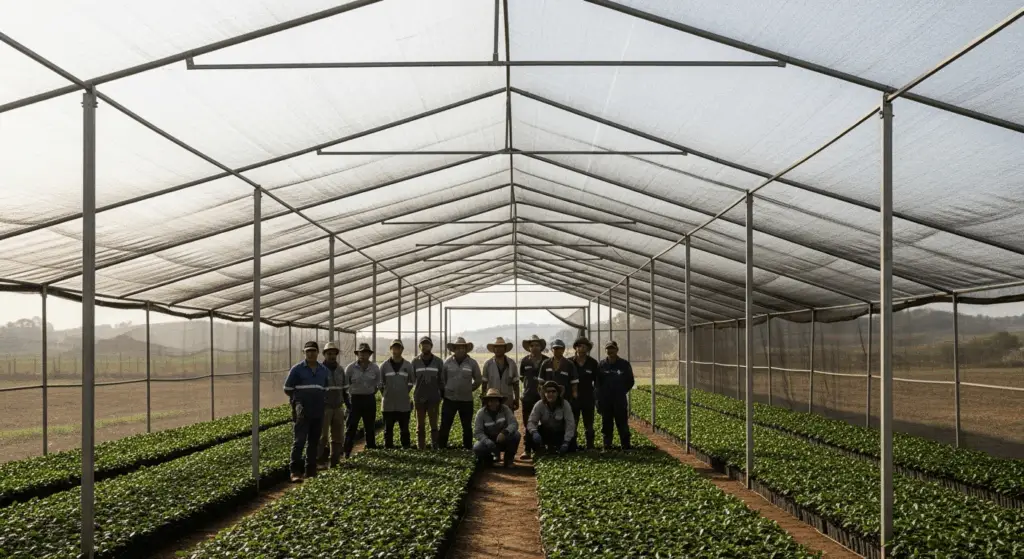
A well-built shade house is the backbone of a successful coffee nursery.
It protects young seedlings from heat, wind, and excessive light—while creating a stable microclimate that encourages root growth and uniform development.
Building a shade structure doesn’t have to be complicated. With the right design, materials, and planning, you can construct a durable and efficient system that lasts years and saves labor.
This guide walks you through every key step.
Frame Design
The frame defines the strength, stability, and lifespan of your shade house. Choose between galvanized steel, treated wood, or bamboo depending on budget, availability, and durability goals. Steel structures are long-lasting and resist warping, while bamboo or wood suits smaller, low-cost nurseries.
Ensure the structure is at least 1.8–2.0 meters high to allow comfortable movement, tool access, and good airflow. The roof should have a gentle slope (5–10°) to allow rainwater runoff.
Tip: In high-rainfall areas, use a double-pitch “A-frame” for better water drainage and wind resistance.
Choosing Net Width & Tension
Selecting the correct net width ensures smooth installation and even coverage. Most HDPE Raschel shade nets come in 4m, 6m, or 8m widths, customizable to your frame size. For nursery beds, a 6m width is ideal to minimize seams and maintain consistent shading.
When installing, apply moderate tension—enough to eliminate sagging but not overstretch the mesh. A tension level of 10–15% stretch is typically recommended. Overstretching reduces lifespan by weakening fibers, while loose nets can flap and tear under wind pressure.
Always pre-tension from the center outward before fixing the edges.
Post Spacing & Wind Load

Post spacing determines how your structure withstands wind and weight. For small nurseries, spacing of 2–3 meters between posts is optimal. Larger or wind-exposed sites may require 1.5–2.0m spacing and diagonal bracing for reinforcement.
Anchor corner posts deeper—at least 60–80 cm—using concrete footing or compacted gravel. For steel structures, use anti-rust coating or hot-dip galvanization to prevent corrosion.
Extended note: Wind uplift is the main cause of net damage. Adding cross wires or windbreak netting on the perimeter significantly improves system stability.
Edge Reinforcement & Clips
Strong edges mean a longer lifespan. Reinforce all edges with double-selvage borders or rope hem before tensioning. These edges bear the most load and prevent fraying.
Use high-quality UV-protected plastic clips, bungee cords, or C-clamps to attach the net to the frame. Avoid metal hooks without coating—they can rust and cut through the fabric.
For large spans, add a center cable to reduce net sag. Tie the net firmly but allow slight movement to absorb wind shocks.
Regularly inspect connectors for looseness—tension loss often starts at the edges, not the middle.
Ventilation & Drainage
Good airflow is vital to prevent fungal diseases and heat accumulation. Leave 20–30 cm side gaps between the net and ground for natural air exchange, or install roll-up sidewalls in humid areas.
For drainage, ensure the floor slopes 1–2% (1–2 cm per meter) toward collection ditches or gravel drains. Raised seedbeds prevent waterlogging, while perforated trays improve oxygen flow to roots.
Bonus: Adding a fine-mesh insect net on the sides improves pest control without blocking ventilation.
Hardening Zone Layout
The “hardening zone” prepares seedlings for real-world field conditions. This area should provide 40–50% shade, less frequent watering, and exposure to ambient temperature and wind.
Place the hardening area next to the main nursery, separated by a simple curtain or removable net. Gradually reduce shade intensity over 2–3 weeks before transplanting.
This step improves root anchorage, cuticle thickness, and stem strength—critical for survival after field planting.
Think of it as the “coffee gym”—where seedlings build strength before going to the field.
Maintenance Checklist
Keep your shade house performing efficiently with regular inspections:
- Check net tension every 3–4 months.
- Tighten loose clips and replace damaged sections.
- Wash nets annually to remove dust and algae buildup.
- Monitor post alignment after heavy rain or wind.
- Check UV wear—discoloration or brittleness means it’s time to replace.
Additional tip: Track maintenance in a logbook. Preventive upkeep costs far less than emergency replacements after storm damage.
Call to Action
Ready to build or upgrade your coffee shade structure? EyouAgro offers complete shade house installation kits—including HDPE Raschel nets, clips, bungee cords, edge ropes, and structural fittings—engineered for tropical climates.
Contact:info@eyouagro.com
Request Your Shade House Installation Kit →
Explore Coffee Shade Net Solutions →
Build it once, build it right—with EyouAgro engineered systems.